How To Improve The Audio Quality Of Your Videos
How To Improve The Audio Quality Of Your Videos
7 seconds is all it takes for listeners to skip your audio content and move on to another video because of bad audio.
Do you videos suffer from a bad case of bad audio?
To be specific, are any of your videos exhibiting any of the following bad audio symptoms?
- Audio Distortion – Clipping
- Over-compressed Audio
- Unintelligible Audio (Too much reverb)
- Irritating Sibilant Audio
Bad audio encompasses a host of known issues such as over-compression, distortion and sibilance, all of which are irritants to your listeners’ ears causing them to tune-out from whatever it is you’re pitching them.
Even worse is how unprofessional your messaging comes across as clipped audio reduces engagement and shortens viewership duration.
In this article we’ll show you how to avoid recording bad audio and offer tips for capturing speech and voice overs cleanly. At the end of this blog post, you will know how to record intelligible narrations and voice-overs your listeners and viewers can appreciate.
What’s So Terrible with Bad Audio?
We need to take into consideration the overall impact videos containing bad audio plays on our listeners’ experience.
Poorly recorded material lowers social engagement and makes your brand appear unprofessional which, when compared to your competition, can affect your bottom line.
Furthermore, podcasts with audio related issues featuring advertising spots may lose out on attracting potentially lucrative sponsors.
Analog Recordings vs Digital
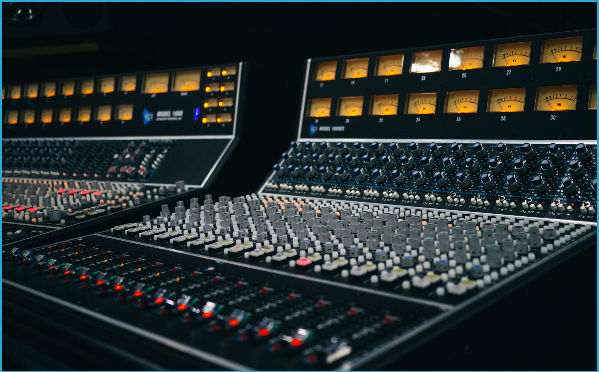
Analog Vs Digital Recordings
In the early days, sounds were recorded using analog consoles, a more forgiving recording device which afforded the driving of hot signals well past a channels input resulting in a warmer audio signal. This added warmth and richness were hallmarks of the Motown sound – just listen to any vocals performed by The Supreme. WIthout getting too technical, analog consoles had special tube amps that when driven, would pleasantly saturate vocals by adding depth and fullness to the overall output.
Conversely, digital devices whether it’s an Iphone, hand-held recorder or laptop are unable to introduce this level of warmth to a clipped signal. Once your vocal or narration extends beyond the 0 dB limit, the signal will distort rendering your file unusable.
What is Audio Clipping-Distortion?
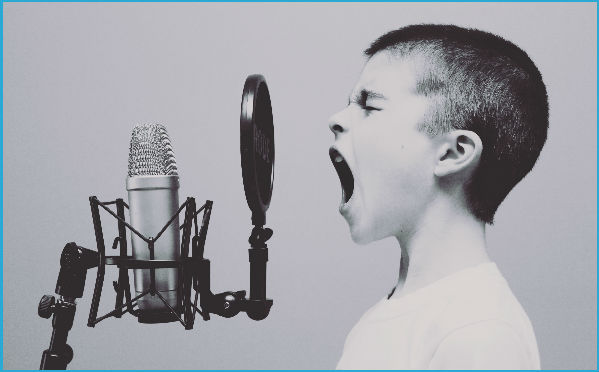
Audio Clipping
Audio clipping occurs when you drive a signal that is too hot for a channels input. For instance, by overtly boosting your microphone gain, you run the risk of exceeding your audio device’s maximum volume capacity resulting in an audible crunchiness. For the most part, audio clipping is highly irritating and is a turnoff for listeners.
The solution is to lower the input volume of incoming signals. This means manually adjusting the dial on your soundcard, interface or recording device. Alternatively, it can also mean speaking into a mic at a moderate volume all while being aware of sudden bursts in amplitudes. This takes practice but the results are highly effective.
Lastly, don’t be tempted to increase the volume thinking you’ll output a better recording. If you successfully record a signal that is too low in overall volume, you can always apply a moderate amount of gain (volume) afterwards. Finally, clipped audio is typically discarded and re-recorded.
Reverberant Monologues and Dialogues

Reduce The Reverb In Your Room
YouTubers and podcasters are frequent offenders of reverberant voice-overs. This occurs when the source signal is situated at a suboptimal location where room reflections and reverberations are picked up by the microphone. In this instance, the microphone fails to capture the direct sound coming from your mouth making your recordings unclear and unintelligible.
The solution is to position your microphone closer to your mouth. If possible, record in spaces with minimal echoes and reverberations. Try suspending thick blankets along your walls or in a secluded area of the recording space. This drastically reduces the amount of reflections bouncing off the walls which renders a clearer recording. Many people may be tempted to purchase a new microphone thinking this will alleviate their audio issues. We recommend taking the time to configure your recording space to an optimal level by following the steps above. If, after achieving the desired results, you want to purchase a mic, we recommend the Shure SM7B – a popular microphone used by grammy award winning artists and popular podcast guru who amasses a staggering 18 million monthly listeners, Joe Rogan.
Low Volume
Recording That Are Too Quiet
Low volume videos and podcasts aren’t necessarily the end of the word. However, when added to a playlist, the dramatic shift in volume could startle listeners as they transition from quieter to louder videos. In comparison to other YouTube videos and podcasts, you want your audio to share similar amplitude levels. The obvious solution here is to increase the overall gain of your recording during post production.
Over-compressed Audio
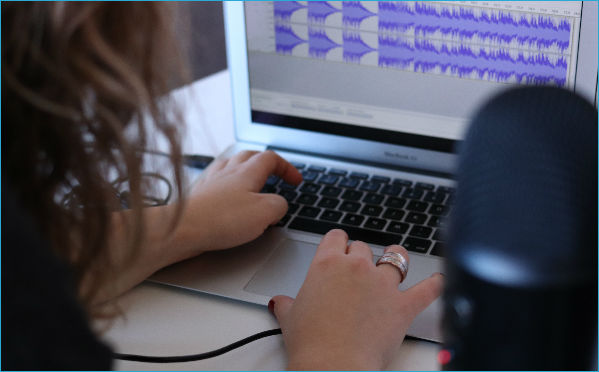
Apply A Mild Amount Of Compression To Your Audio
When used effectively, compression brings life to a dialogue while reducing its dynamic range. This resultant audio is more consistent and exudes discernible traits associated with professionally recorded material. Over-compression is fatiguing to listeners and will have them skipping your video in a heartbeat. The same can be said for overtly compressed background music.
The solution is to apply mild compression to your recording. Don’t go overboard. While mild compression settings greatly improves audio, stay away from extreme settings.
Ideally, you want your speech to remain intelligible. The goal is not to pump out a louder signal. The focus is to make your audio stand out more by having the compressor add weight to your speech.
Sibilant Audio

Cut Out The Sibilance in Your Audio
Ever notice notice how certain words trigger that good old clipping sound we’ve come to love?
Words with P’s and B’s are problematic. The sudden bursts of air exiting our mouths overload our microphone capsule causing an undesired clip in the signal. Additionally certain letters such as S’s, C’s and SH’s sounds are recipes for sibilant recordings. Sibilant sounds, which are typically high pitched and piercing, can ruin the overall flow of a song or monologue. It’s yet another distraction we must eliminate to effectively communicate our message. Professional voice-over artists use techniques to de-emphasis sibilant words while understating offending P’s and B’s.
But don’t worry, there’s no need to become a professional voice-over actor. In fact, we use the following technique all the time.
We recommend using a pop filter, a device which is placed in between the path traveled by the air we emit by our mouth and the microphone. Pop filter are designed to dissipate incoming gusts of air. Although not 100% effective, when used properly, pop filters greatly reduce sibilance. If you don’t have a pop filter, then hold two pencils together and spaced them five millimeters apart. Place the pencils in front of your mouth so that the air travels through the gap before reaching the microphone’s capsule. Congratulations! You’ve created a pop filter.
Conclusion
Recording quality audio doesn’t take much effort if you follow the steps included in this article. YouTube videos with clear audio are pleasing to the ear and is a reflection of your commitment to uploading share-worthy content. We’ve provided some low cost solutions that should get you pointed in the right direction.

Julian Taylor, writer
Musician, Marketer and lover of locally-brewed craft beers.
Enter your email address below to receive tips on how to grow your business faster.